
Blue Peaks Roofing
Categories
Homeowners Roof Repair

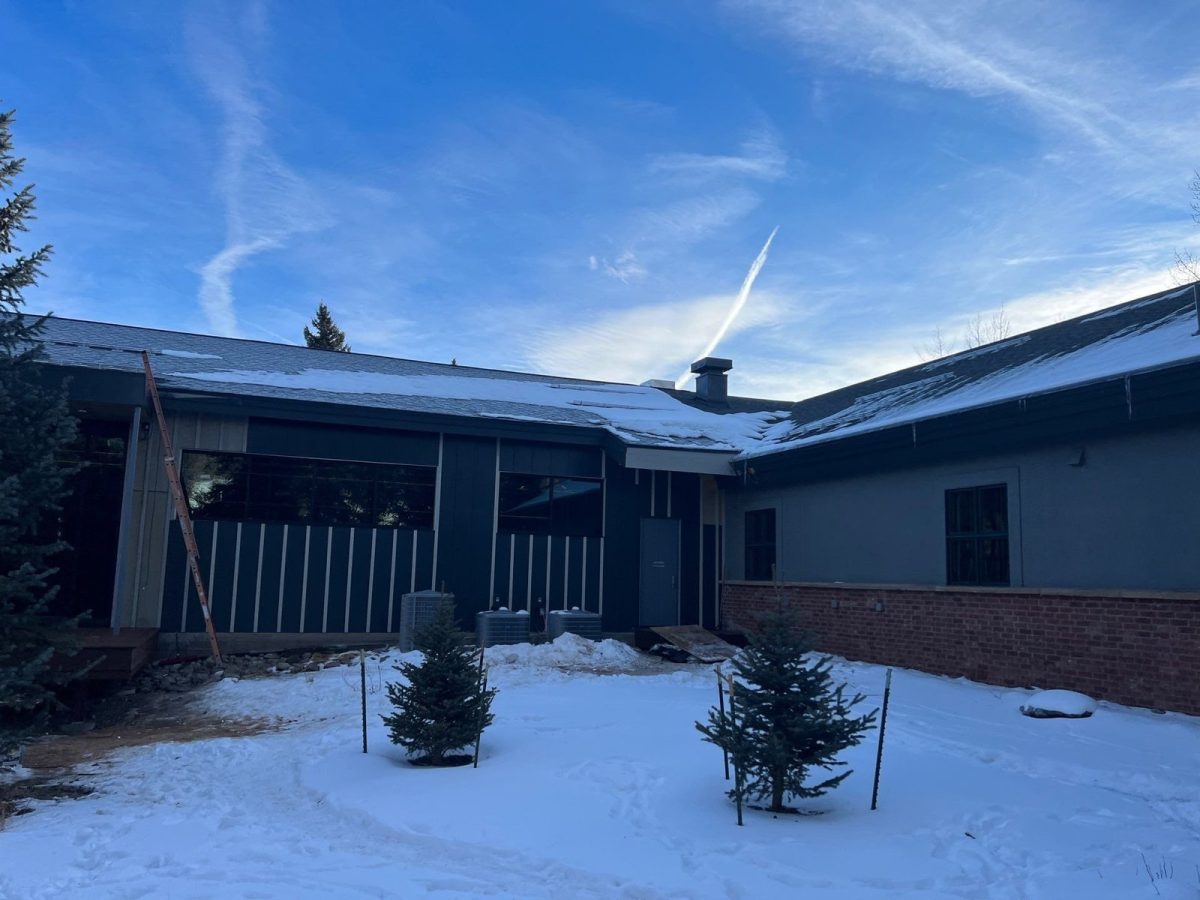
Winter Roof Leak Repair: What to Do About Ice Dams on Your Roof

If you see water stains along an outside wall or near the ceiling edge after a snow, ice dams on your roof are a likely cause, and the repair has two parts: a roof leak repair where the water got in, and a look at why the ice formed in the first place. Stay off the roof and off ladders, and don’t try to chip the ice. Catch the water inside, take photos from the ground, and have a roofer find the source. Our roof repair visits start there: we find where the water is getting in, photograph it and give you a straight answer.

What are ice dams on a roof?

An ice dam is a ridge of ice that builds up along the lower edge of the roof, usually right over the gutters and eaves.

Snow sits on the roof. Heat from the house warms the upper part of the roof deck, and the snow there melts from underneath. That meltwater runs down the roof until it reaches the eaves, which hang out past the warm walls and stay cold. There it refreezes. Each melt-and-freeze cycle adds to the ridge, and before long there’s a wall of ice holding back a pool of water.

Shingles are designed to shed water running downhill. They aren’t built to hold back standing water. When that pool backs up under the shingles, it can work its way to the roof boards and into the house.

Front Range weather can set this up. We get a snow, then a sunny afternoon above freezing, then a hard freeze that night. Heat from the house and from the sun melts the snow on the upper roof, and the overnight freeze turns that meltwater back into ice at the eaves. Each round of that cycle builds the ice.

Signs an ice dam is causing your leak

Look for:

  • Water stains or peeling paint near exterior walls, often in the corners of upstairs rooms or along the top of a wall.
  • Thick ice along the eaves and gutters, sometimes with icicles hanging off it.
  • A leak that shows up on a sunny day after a snow, not during the snowfall itself.
  • Wet or frosty insulation in the attic near the outside edges, if you can see it safely from the attic hatch, without stepping on the insulation.

What to do right now (and what not to do)

Do:

  • Catch the water inside with buckets and towels, and move furniture and electronics away from it.
  • If water is dripping through a light fixture or near an outlet, don’t touch it and keep people and pets away. If a ceiling is bulging or sagging with water, stay out from under it. If you can reach your electrical panel without stepping through water, turn off the breaker for that room. If you’re not sure, call an electrician.
  • Take photos and a short video of the stain, the drip and the ice along the roof edge from the ground.
  • Call a roofer to look at it.

Don’t:

  • Don’t climb onto the roof, or onto a ladder, when there’s snow or ice on the roof or the ground. An icy roof edge is one of the most dangerous places on a house. That’s a job for a trained crew, once conditions allow.
  • Don’t stand or park under icicles or ice at the roof edge. Chunks can fall without warning. Take your photos from a safe distance.
  • Don’t chip at the ice with a hammer, shovel or ice pick. It’s easy to break shingles, gouge the gutters or tear off flashing, which turns one leak into several.
  • Don’t throw salt or chemicals on the roof. Some can damage shingles, metal and plants below.

What roof leak repair looks like after an ice dam

Once the ice melts, the leak often stops. But the water already got under the shingles once, and it can again.

When we come out on an ice dam leak, we:

  • Inspect the roof section by section when conditions allow, and photograph what we find, especially along the eaves, valleys and roof-to-wall joints.
  • Check the attic for wet insulation, stained roof boards and signs that warm air is reaching the roof deck.
  • Look for related damage: lifted or cracked shingles at the eaves, flashing pulled loose, and gutters bent by the weight of the ice.
  • Tell you honestly whether this is a repair or a sign the roof is at the point where repairs stop making sense.
  • Give you a written scope and price before any work starts.

Some repair work depends on temperature, because shingle sealing and some materials need warmer weather. Sometimes the right move in winter is a temporary fix now and a permanent repair when the weather allows. A temporary fix is meant to limit water until conditions are right for the real repair. It isn’t a guarantee that the leak is fully stopped. We’ll tell you which one you’re getting.

Why ice dams form on some roofs and not others

The difference is usually how much heat is reaching the roof. Common causes:

  • Warm air leaking into the attic through gaps around light fixtures, attic hatches and plumbing or vent openings.
  • Not enough insulation in the attic, so heat moves straight up to the roof deck.
  • Poor attic ventilation, so warm air gets trapped under the roof instead of being replaced by cold outside air.
  • Roof shape: valleys and low-slope sections collect more snow and meltwater.

Long term, the goal is to keep the roof deck cold and even from top to bottom, so snow melts slowly and evenly instead of melting up high and refreezing at the edge. Our roof inspection notes what we see in the attic and on the roof, so you know where the heat may be coming from. Blue Peaks doesn’t do insulation or air sealing. If the attic is the problem, a home energy auditor or an insulation contractor is the right call, and we’ll tell you so. On a roof replacement, we do look at the roof’s ventilation.

How to prevent ice dams before the next big snow

To make ice dams less likely:

  • Clear your gutters and downspouts in dry weather before the snow starts, or have a professional do it. Don’t go up a ladder once there’s ice or snow. Clear gutters give meltwater somewhere to go, though the bigger factor is how much heat is reaching the roof.
  • If you use a roof rake, use it from the ground only, after a heavy snow, to pull down the snow along the bottom few feet of the roof. Look up first and stay well away from power lines and the wires running to your house, since a metal or wet pole can carry current. Pull snow only: don’t chop or yank at ice stuck to the shingles. Stand out of the way of falling snow and ice. If you’re unsure, skip it and call a roofer.
  • Ask about the roof edge. When we replace a shingle roof, ice and water shield, a self-adhering waterproof membrane, goes under the shingles in every valley and along the eaves. It’s a backup layer for water that backs up at the edge of the roof. It won’t stop ice dams from forming, so we also look at where the heat is coming from.

Can an ice dam leak wait until spring?

We’d rather you didn’t wait. Every melt-and-freeze cycle can push more water under the shingles and into the roof boards, insulation and drywall. Over time, wet materials can lead to rot and mold.

If your roof is already leaking from something other than ice, our post on what to do when your roof starts leaking walks through the first steps.

Roof repair in Denver and the Front Range: how we handle winter leak calls

Blue Peaks was founded in 2019 and is based in Littleton, and we hold Atlas PRO+ Silver and TAMKO Pro Platinum credentials. Our inspections come with photos and a written scope before any work begins. We handle urgent roof problems during business hours. If water is coming in, call us and we’ll get you on the schedule.

Not every leak means a new roof. Our job is to find out which kind you have and tell you the truth about it.

Seeing stains near your walls or ice along the roof edge? Call us at (303) 808-0687 or schedule a roof inspection. We’ll find the source, show you photos and give you a straight answer.

Categories
Homeowners Roof Repair

What Should You Do When Your Roof Starts Leaking?

If your roof starts leaking, protect people and belongings first, catch and contain the water inside, write down and photograph what you see, and call a roofer to find the real source before anyone patches it. Don’t climb onto a wet or icy roof yourself. Most leaks can be fixed without replacing the whole roof, but only after someone finds where the water is actually getting in. That’s what our roof repair visits are built around: we find the cause, photograph it and give you a straight answer.

Here’s how we walk homeowners through it when they call us with water coming through the ceiling.

Step 1: Make the inside safe

Water and a ceiling don’t mix for long, so start with the inside of the house.

  • Keep people and pets out from under the wet spot. A ceiling that’s sagging or bulging is holding water. Keep everyone out of that area until it’s dealt with.
  • Keep water away from electricity. If water is dripping near a light fixture, outlet or ceiling fan, don’t touch it. If you can reach your breaker panel safely and know which circuit it is, shut that circuit off. Don’t walk through standing water to get to the panel. If you can’t reach it dry, leave it and call an electrician.
  • Move what you can. Pull furniture, rugs, electronics and boxes away from the drip.
  • Catch the water. Buckets, towels and a tarp or plastic sheet on the floor will save your flooring and drywall a lot of grief.

None of this fixes the roof. It just keeps a roof problem from turning into a bigger inside problem while you get help.

Step 2: Write down what you’re seeing

Before you mop it all up, take a few minutes to note what’s happening. It helps whoever comes out to find the source faster.

  • Take photos and a short video of the drip, the stain and any sagging.
  • Note when it started and what the weather was doing: heavy rain, wind-driven rain, melting snow, or a sunny day after a snowstorm.
  • If you can get into the attic safely, look for wet insulation, dark stains on the roof boards or daylight coming through. Step only on the joists or attic boards, never on the drywall between them.
  • Check outside from the ground. Missing, cracked or lifted shingles, flashing pulling away around a chimney or vent, or gutters overflowing can all point toward the problem.

The timing detail matters more than people think. A leak that only shows up during wind-driven rain often points somewhere different than one that shows up when snow is melting off the roof.

Step 3: Stay off the roof

We get it. You want to get up there and see what’s going on. Please don’t. A roof that’s wet, frosty or icy is dangerous even for people who walk roofs every day, and we use fall protection for a reason. Stepping on the wrong spot can also crack shingles or make an existing problem worse.

Viewing from the ground, from a window, or through binoculars is fine. Leave the climbing to a roofer.

Step 4: Call a roofer to find the source, not just the drip

Here’s the part that trips a lot of people up: where the water shows up inside is often not where it’s getting in. Water can travel along roof boards, rafters and underlayment before it drips through your ceiling. A stain in the middle of the living room ceiling might come from flashing around a vent several feet away.

That’s why a good repair starts with diagnosis. When we come out for a leak, we:

  • Inspect the roof section by section and take photos of what we find, including the spots you can’t see yourself.
  • Look at the usual suspects: flashing around chimneys, vents and skylights, roof-to-wall joints, damaged or missing shingles, and sealant that has dried out and cracked.
  • Tell you honestly whether a repair is enough or whether the roof is at the point where repairs stop making sense.
  • Give you a written scope and price before any work starts.

If you’re stuck between those two options, our post on roof repair vs. replacement walks through how to think about it.

What usually causes roof leaks in Colorado?

Every roof is different, but these are the problems we see most often on Front Range homes:

  • Flashing and seals. The metal flashing around chimneys, vents and walls often wears out before the shingles do, and caulking and sealants dry out and crack in our sun.
  • Damaged or missing shingles. Wind can lift shingles and break their seal, and age makes them crack and curl.
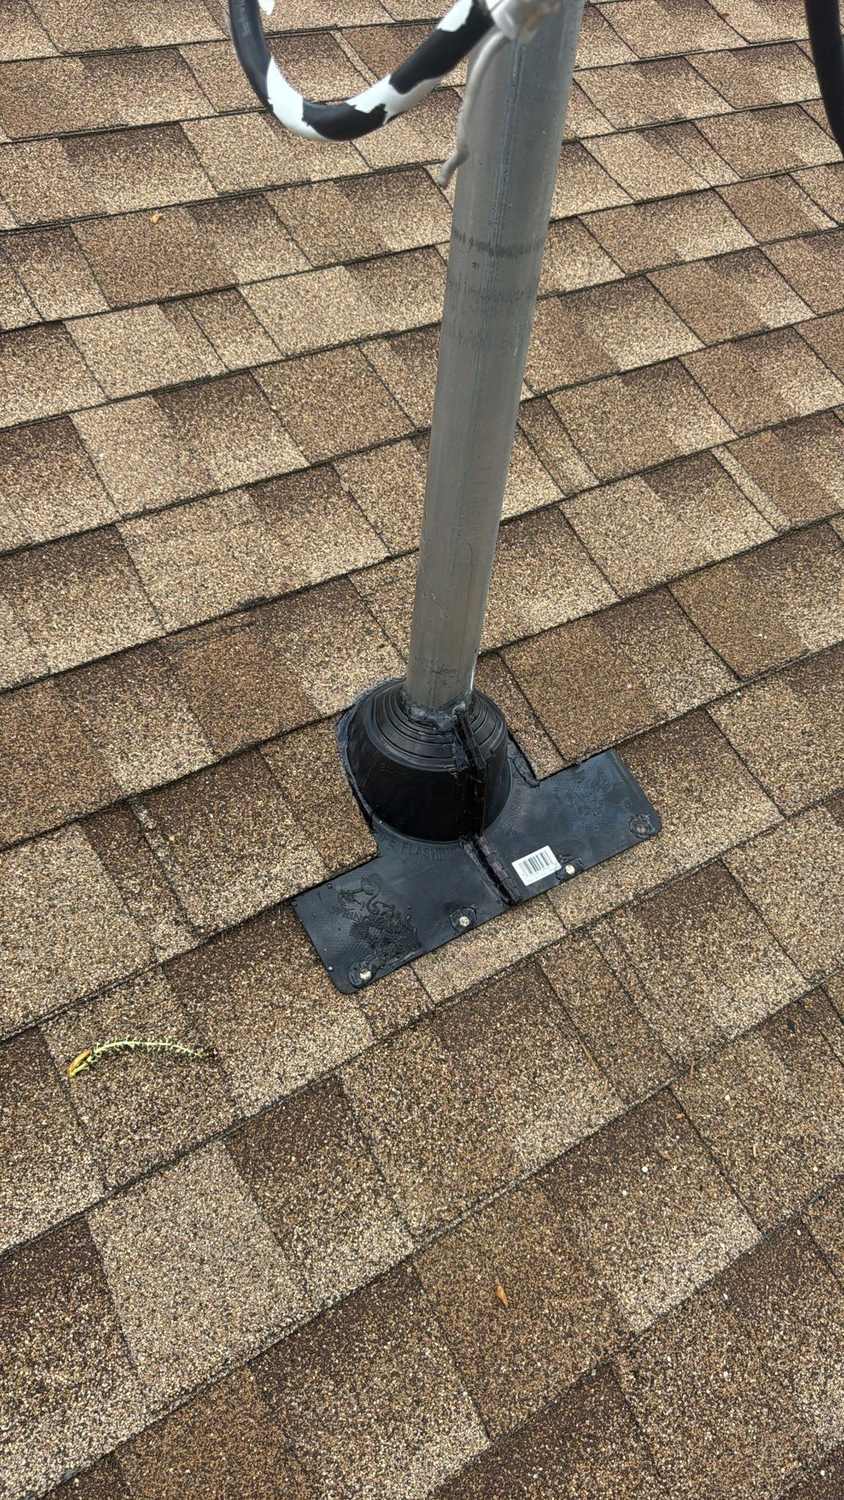
  • Penetrations. Every pipe, vent and skylight is a hole in the roof that has to be sealed right.
  • Ice dams. In winter, snow melts on the warmer part of the roof, runs down and refreezes at the colder eaves. The water backs up under the shingles and can show up as a stain near your exterior walls. Don’t chip at ice dams or climb a ladder onto icy eaves to clear them.
  • Storm damage. Hail can bruise and crack shingles, and the damage isn’t always obvious from the ground. If your leak showed up after a hailstorm, our hail damage inspection page explains how we look at that.

Can a roof leak wait until spring?

We’d rather you didn’t wait. A small leak keeps soaking the roof boards, insulation and drywall every time it rains or the snow melts, and wet materials can lead to rot and mold over time. What starts as a quick repair can turn into replacing decking, insulation and drywall if it sits for months.

The good news is that a lot of repair work can still be done in cooler weather. Shingle sealing and some materials do depend on temperature, so we’ll tell you what makes sense for your roof and the forecast. Sometimes the right move is a temporary fix now and a permanent repair when the weather allows. We’ll be upfront about which one you’re getting.

What a good roof repair looks like

Whoever you hire, here’s what you should expect:

  • A clear diagnosis with photos. You should see the problem, not just hear about it.
  • A written scope and price before work starts.
  • Photos of the repair while it’s underway and when it’s finished, so you know what was done on a part of the house you can’t get to.
  • A check after the repair. We check our repairs from the attic and the outside, clean up, and walk you through what we did.
  • Straight answers on warranty. On our residential roofs, our 5-year workmanship warranty covers qualifying installation-related defects. Repairs are handled case by case, and your contract spells out what’s covered before we start.

How Blue Peaks handles leak calls

We’ve worked out of our Littleton office since 2019, and we hold Atlas PRO+ Silver Level and TAMKO Pro Platinum credentials. Every job, repairs included, gets a dedicated project manager and photo documentation. Emergency repairs are available during business hours, and non-emergency inspections are typically scheduled within 24 to 48 hours.

Most roof problems are fixable without a full replacement. Our job is to find out which kind you have and tell you the truth about it.

Seeing water stains or a drip? Call us at (303) 808-0687 or schedule a free roof inspection. We’ll find the source, show you photos, and give you a straight answer.

Categories
Insurance & Claims Maintenance & Repairs Project Planning Roof Repair Roof Replacement Warranty & Insurance

How to File a Roof Insurance Claim in Colorado: Step by Step

Let’s set the scene. A hailstorm just rolled through your neighborhood. Your car has new dimples. Your neighbor is already on the phone with some guy in a pickup truck who appeared out of nowhere handing out business cards like candy. And you’re standing in your driveway wondering what you’re actually supposed to do.

Here’s the thing: your insurance company has navigated this exact process thousands of times. You probably haven’t done it once. That gap in experience is exactly where money disappears — and it’s completely avoidable.

We inspect hail-damaged roofs across the Front Range. Here’s exactly how to handle it without leaving money on the table or making expensive mistakes.

First — Pull Out Your Policy and Find These Three Things

Nobody reads their insurance policy. We know. It reads like it was written by someone who hates you. But before you call your carrier, you need to know three things or you’re walking into a conversation completely blind:

  1. Your wind and hail deductible. In Colorado, this is almost always a separate deductible from your standard one — and it’s percentage-based. On a $500,000 home with a 2% hail deductible, you owe $10,000 before insurance pays a single dollar. Find this number before the adjuster visits.
  2. RCV or ACV coverage. Replacement Cost Value pays what it costs to build the roof today. Actual Cash Value pays that minus depreciation — meaning they factor in your roof’s age and pay less. The difference is often several thousand dollars. Most people have no idea which one they have until the check arrives.
  3. Your filing deadline. Colorado policies typically require you to file within 1–2 years of the storm date. The clock started the minute the hail hit.

Still confused by your policy? Call SCC Insurance at (303) 587-9582. Free policy review. They’ll translate the fine print into English for you — no strings attached.

Now Here’s the Process, Step by Step

Step 1

Get a Professional Inspection Before You Call Your Insurance Company

This is the step people skip. It’s also the most important one. Before an adjuster puts eyes on your roof, you need to know what’s actually there. At Blue Peaks, inspections are always free and we document everything with photos. Going into the process informed, instead of just waiting to hear what the insurance company says, puts you in a better position.

Step 2

File Your Claim

Call your insurance company or file online. Get a claim number immediately and write it down — you’ll reference it constantly over the next several weeks. Be factual: give them the approximate storm date, describe the damage you’ve observed, and request a full inspection. Don’t speculate, don’t exaggerate. Just tell them what you know.

Step 3

Be Ready for the Insurance Inspection

Your insurer will schedule an inspection of the roof. Be available, keep your claim number and policy details handy, and have your own inspection photos and the storm date ready for reference.

Step 4

Review the Scope of Loss Line by Line — Before You Sign Anything

The adjuster produces a Scope of Loss — a line-by-line breakdown of what they’re approving. Commonly missing items: drip edge, ice and water shield, starter strip, pipe boot replacements, ridge ventilation, and overhead and profit. If you think items are missing, you can ask your insurer to review the scope.

Step 5

Ask Your Insurer to Review an Incomplete Scope

If items are missing, you can ask your insurer to review them. Your inspection photos and measurements can help you show what is on the roof.

Step 6

Receive Your ACV Check and Get Started

Once the scope is agreed upon, your insurance company issues the first check — the Actual Cash Value payment. This is the depreciated value of the roof. Work begins, this payment covers the start of the project, and the clock starts on your completion certificate.

Step 7

Collect Your Recoverable Depreciation After the Roof Is Done

After completion, you submit a certificate of completion and your insurance company releases the recoverable depreciation — the difference between what they paid and what the roof actually costs new. This is your second check. Most of our clients are genuinely surprised by how smooth this last step is once the work is done right.

⚠ Mistakes That Cost Colorado Homeowners Thousands Every Year
  • Signing a contract before you know what your deductible actually is
  • Accepting the first scope without reviewing every line item — first scopes are almost never complete
  • Going with the cheapest bid (low bids almost always mean missing scope items — you’ll feel the gap when the final check arrives)
  • Waiting too long after a storm and letting the filing window close
  • Signing contracts with door-to-door contractors who showed up the day after a storm and will be gone by winter — this one deserves its own article
The Blue Peaks difference — and it’s a real one:We inspect, document and give you a full photo report of what we find. Your deductible is always your responsibility under Colorado law.

What Does It Actually Cost Me?

Your deductible is your responsibility under Colorado law. We work within the approved insurance scope and we never ask homeowners to pay above their approved coverage for covered work. If you have an ACV policy and depreciation isn’t recoverable, we’ll explain exactly what that means before you commit to a single thing. No surprises, ever.

Ready to Get Started?

The insurance company has done this thousands of times. You probably haven’t. That experience gap is where money goes — and it’s completely avoidable when you have the right people in your corner.

If there’s been a storm in your area and nobody’s been on your roof, call us. Free inspection. Honest assessment. No obligation either way. We’ll tell you straight whether there’s a claim worth making.

Free inspection with a full photo report.

(303) 808-0687

Blue Peaks Roofing · Littleton, CO · bluepeaksroofing.com · Mon–Sat 8AM–5PM

Not sure what you are looking at? Schedule a free hail damage roof inspection.

Wondering how a claim affects coverage? Read whether hail damage voids your roof warranty.

About Blue Peaks RoofingBlue Peaks Roofing serves the Denver metro and Front Range. BBB Accredited. Google reviews. Littleton, CO.

Categories
Maintenance & Repairs repair vs a full roof replacement Roof Repair Roof Replacement Roofing Challenges

Roof Repair vs. Replacement: How to Make the Right Decision

Start with an inspection

You can’t judge a roof’s condition from the driveway. Hail bruising, worn granules, lifted shingles and soft decking are hard to see from the ground, and walking a roof yourself is risky. A professional inspection with photos is the right place to start any repair or replacement decision. After a storm, see what our hail damage roof inspection covers.

Signs a repair is enough

  • Damage is limited to one area of the roof.
  • A few shingles are missing or damaged, and the rest of the roof is in good shape.
  • A leak traces back to flashing around a chimney, wall or vent.
  • A cracked or worn pipe boot is letting water in.

In these cases, our roof repair team can usually fix the problem without a full replacement.

Signs it’s time to replace

  • Widespread granule loss or hail bruising across the roof.
  • Leaks in several places.
  • Soft, spongy or sagging decking.
  • Shingles curling, cracking or lifting across the roof, not just in one spot.

Age is a factor, but condition decides

An older roof is more likely to need replacement, but age alone doesn’t make the call. A well-installed older roof can be in better shape than a newer one that took a beating in a storm. The inspection tells you what condition the roof is actually in.

Local code matters

Some Colorado jurisdictions don’t allow a second layer of shingles over the old roof, which changes the math on a repair or partial overlay. Learn more in Colorado Roof Codes Differ by Address: Here’s How to Check Yours.

Compare written estimates

When it’s a close call, ask for written estimates for both a repair and a replacement so you can compare them side by side. Think about how long you plan to stay in the home: a repair may make sense if you are selling soon, while a replacement may make more sense if you plan to stay.

Get a clear answer

Schedule a free inspection. We typically inspect within 24 to 48 hours, walk you through the photos of what we find and tell you honestly whether you need a repair, a replacement or nothing at all. See how our roof repair and roof replacement services work, or contact us to book.

What working with us looks like: We inspect your roof for free, typically within 24 to 48 hours, and walk you through the photos of what we find. If you go ahead, your dedicated project manager sends a prep email before your build, keeps you updated every day, and we finish with a magnetic nail sweep and a final walkthrough with you. Residential roofs carry our 5-year workmanship warranty. Call (303) 808-0687 or schedule a free inspection.