
Blue Peaks Roofing
Categories
Insurance & Claims Maintenance & Repairs Project Planning Roof Repair Roof Replacement Warranty & Insurance

How to File a Roof Insurance Claim in Colorado: Step by Step

Let’s set the scene. A hailstorm just rolled through your neighborhood. Your car has new dimples. Your neighbor is already on the phone with some guy in a pickup truck who appeared out of nowhere handing out business cards like candy. And you’re standing in your driveway wondering what you’re actually supposed to do.

Here’s the thing: your insurance company has navigated this exact process thousands of times. You probably haven’t done it once. That gap in experience is exactly where money disappears — and it’s completely avoidable.

We inspect hail-damaged roofs across the Front Range. Here’s exactly how to handle it without leaving money on the table or making expensive mistakes.

First — Pull Out Your Policy and Find These Three Things

Nobody reads their insurance policy. We know. It reads like it was written by someone who hates you. But before you call your carrier, you need to know three things or you’re walking into a conversation completely blind:

  1. Your wind and hail deductible. In Colorado, this is almost always a separate deductible from your standard one — and it’s percentage-based. On a $500,000 home with a 2% hail deductible, you owe $10,000 before insurance pays a single dollar. Find this number before the adjuster visits.
  2. RCV or ACV coverage. Replacement Cost Value pays what it costs to build the roof today. Actual Cash Value pays that minus depreciation — meaning they factor in your roof’s age and pay less. The difference is often several thousand dollars. Most people have no idea which one they have until the check arrives.
  3. Your filing deadline. Colorado policies typically require you to file within 1–2 years of the storm date. The clock started the minute the hail hit.

Still confused by your policy? Call SCC Insurance at (303) 587-9582. Free policy review. They’ll translate the fine print into English for you — no strings attached.

Now Here’s the Process, Step by Step

Step 1

Get a Professional Inspection Before You Call Your Insurance Company

This is the step people skip. It’s also the most important one. Before an adjuster puts eyes on your roof, you need to know what’s actually there. At Blue Peaks, inspections are always free and we document everything with photos. Going into the process informed, instead of just waiting to hear what the insurance company says, puts you in a better position.

Step 2

File Your Claim

Call your insurance company or file online. Get a claim number immediately and write it down — you’ll reference it constantly over the next several weeks. Be factual: give them the approximate storm date, describe the damage you’ve observed, and request a full inspection. Don’t speculate, don’t exaggerate. Just tell them what you know.

Step 3

Be Ready for the Insurance Inspection

Your insurer will schedule an inspection of the roof. Be available, keep your claim number and policy details handy, and have your own inspection photos and the storm date ready for reference.

Step 4

Review the Scope of Loss Line by Line — Before You Sign Anything

The adjuster produces a Scope of Loss — a line-by-line breakdown of what they’re approving. Commonly missing items: drip edge, ice and water shield, starter strip, pipe boot replacements, ridge ventilation, and overhead and profit. If you think items are missing, you can ask your insurer to review the scope.

Step 5

Ask Your Insurer to Review an Incomplete Scope

If items are missing, you can ask your insurer to review them. Your inspection photos and measurements can help you show what is on the roof.

Step 6

Receive Your ACV Check and Get Started

Once the scope is agreed upon, your insurance company issues the first check — the Actual Cash Value payment. This is the depreciated value of the roof. Work begins, this payment covers the start of the project, and the clock starts on your completion certificate.

Step 7

Collect Your Recoverable Depreciation After the Roof Is Done

After completion, you submit a certificate of completion and your insurance company releases the recoverable depreciation — the difference between what they paid and what the roof actually costs new. This is your second check. Most of our clients are genuinely surprised by how smooth this last step is once the work is done right.

⚠ Mistakes That Cost Colorado Homeowners Thousands Every Year

  • Signing a contract before you know what your deductible actually is
  • Accepting the first scope without reviewing every line item — first scopes are almost never complete
  • Going with the cheapest bid (low bids almost always mean missing scope items — you’ll feel the gap when the final check arrives)
  • Waiting too long after a storm and letting the filing window close
  • Signing contracts with door-to-door contractors who showed up the day after a storm and will be gone by winter — this one deserves its own article
The Blue Peaks difference — and it’s a real one:We inspect, document and give you a full photo report of what we find. Your deductible is always your responsibility under Colorado law.

What Does It Actually Cost Me?

Your deductible is your responsibility under Colorado law. We work within the approved insurance scope and we never ask homeowners to pay above their approved coverage for covered work. If you have an ACV policy and depreciation isn’t recoverable, we’ll explain exactly what that means before you commit to a single thing. No surprises, ever.

Ready to Get Started?

The insurance company has done this thousands of times. You probably haven’t. That experience gap is where money goes — and it’s completely avoidable when you have the right people in your corner.

If there’s been a storm in your area and nobody’s been on your roof, call us. Free inspection. Honest assessment. No obligation either way. We’ll tell you straight whether there’s a claim worth making.

Free inspection with a full photo report.

(303) 808-0687

Blue Peaks Roofing · Littleton, CO · bluepeaksroofing.com · Mon–Sat 8AM–5PM

Not sure what you are looking at? Schedule a free hail damage roof inspection.

Wondering how a claim affects coverage? Read whether hail damage voids your roof warranty.
About Blue Peaks RoofingBlue Peaks Roofing serves the Denver metro and Front Range. BBB Accredited. Google reviews. Littleton, CO.

Categories
HOAs/Property Managers Homeowners

Siding Options for Colorado’s Climate: Durability, Maintenance & Performance

Colorado Climate Challenges for Siding

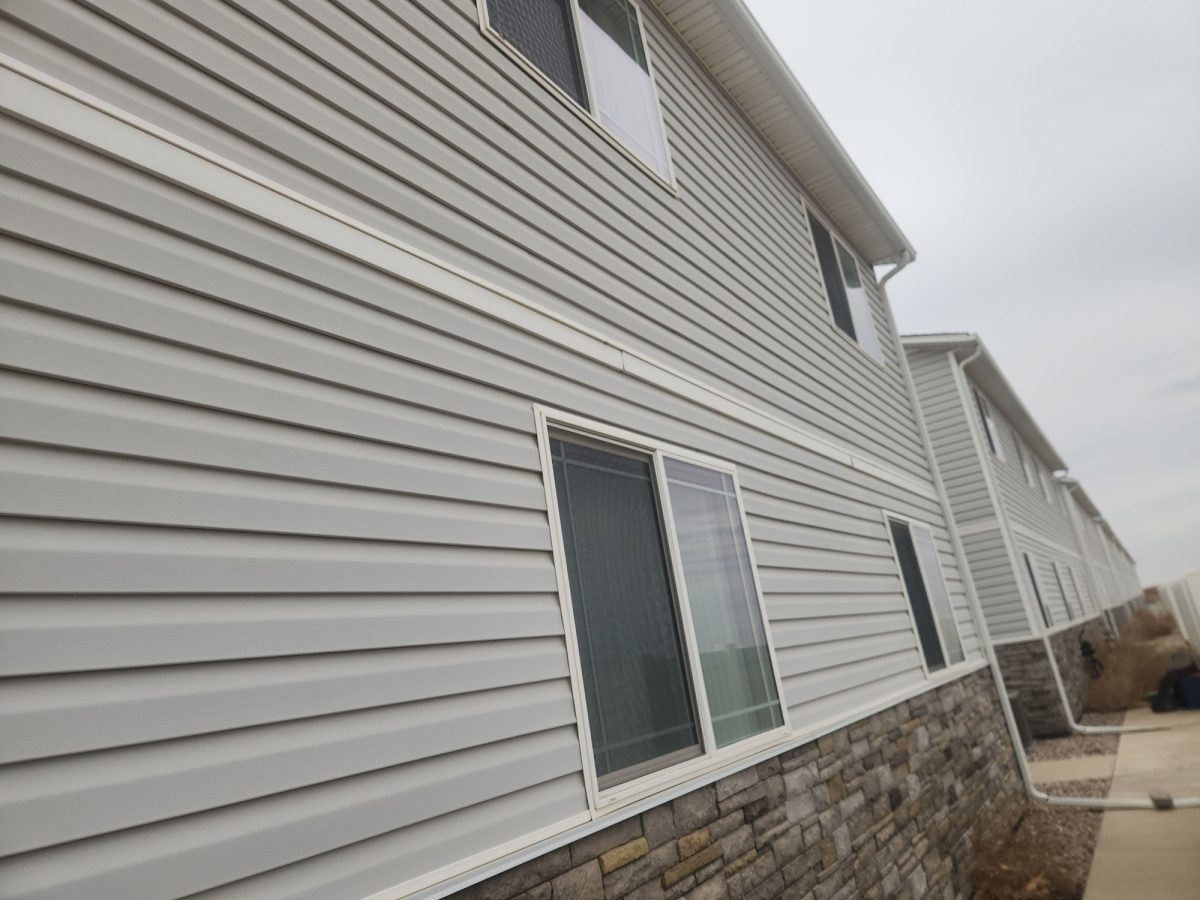
Siding in Colorado has a tough job. It must withstand searing UV rays at high altitude, freezing nights, heavy snow, and the sudden impact of hail. Some vinyl siding can turn brittle in the cold, and untreated wood siding dries out over time. So, what works?

Fiber Cement Siding (James Hardie)

Pros: Non-combustible, resists rot and pests, holds paint well.
Cons: Heavy, difficult to install, brittle upon impact (can crack from large hail).

Verdict: A strong choice where fire resistance matters, installed by experienced crews.

Engineered Wood Siding (LP SmartSide)

Pros: Good impact resistance, looks like real wood, treated against rot and termites.
Cons: Is combustible (though treated), requires painting edges carefully to prevent water swelling.

Verdict: A good all-around choice where hail is the main concern.

Vinyl Siding: Affordability & Limitations

Pros: Lower cost, no painting required.
Cons: Can crack from impacts in cold weather and can fade in strong sun.

Verdict: A budget-friendly option; we can help you compare grades.

Comparison Table

Feature Fiber Cement Engineered Wood Vinyl
Hail impact Can crack from large hail Handles impact well Can crack or hole
Fire Non-combustible Combustible (treated) Can deform near high heat
Cold weather Good Good Can turn brittle

Siding Recommendations by Elevation

  • Denver Metro (Hail Risk): Engineered wood (LP SmartSide) is a good fit where hail is the main concern.
  • Mountain / Foothills (Fire Risk): Fiber cement (James Hardie) is a common choice where wildfire risk is high; check your local code.

Planning exterior work beyond the roof? See our siding replacement services, or how we plan windows and siding with your roof.

When a roof is past saving, here is how our roof replacement process works.

What working with us looks like: We inspect your roof for free, typically within 24 to 48 hours, and walk you through the photos of what we find. If you go ahead, your dedicated project manager sends a prep email before your build, keeps you updated every day, and we finish with a magnetic nail sweep and a final walkthrough with you. Residential roofs carry our 5-year workmanship warranty. Call (303) 808-0687 or schedule a free inspection.

Categories
HOA Planning HOAs/Property Managers

Phased vs Full Roof Replacement for HOAs: Which Strategy Fits?

Understanding Phased vs Full Replacement

When an HOA community’s roofs reach end-of-life, the Board faces a massive logistical and financial decision: Rip the band-aid off (Full Replacement) or take it slow (Phased Replacement). There is no “right” answer, only the answer that fits your community’s specific financial health and tolerance for disruption.

Financial Planning & Reserve Funding

Full Replacement: requires a large outlay up front. It can capture volume pricing and locks in today’s prices, but it can strain reserves or require a loan.

Phased Replacement: spreads the cost over several years. This aligns better with annual reserve contributions, but later phases are exposed to price increases on materials and labor, so the total cost is often higher.

Pros and Cons Comparison

Full Replacement Strategy

  • Pros: Volume pricing, prices locked in, a consistent look right away, one warranty start date.
  • Cons: Massive disruption (community becomes a construction zone), high immediate cash demand, logistical stress.

Phased Replacement Strategy

  • Pros: Protects cash flow, manageable disruption sections, flexibility to pause if funds get tight.
  • Cons: Higher total project cost (loss of scale + inflation), “checkerboard” appearance if shingle colors are discontinued, tracking multiple warranty dates.

Material Consistency & Warranty Implications

A major risk of phasing is shingle dye lots. Manufacturers change colors slightly over years. A “Weathered Wood” shingle installed in 2026 might not match one installed in 2029. Full replacement keeps the color uniform.

When Phased Replacement Makes Sense

  • Reserves are healthy but not fully funded for the total scope.
  • The community is too large to replace in one season.
  • Roof deterioration is uneven (e.g., south-facing slopes are failing, north-facing are fine).

When Full Replacement Makes Sense

  • Reserves are fully funded or a loan/special assessment is approved.
  • Pricing is volatile, and the Board wants to hedge against inflation.
  • The roofs are failing uniformly, and delaying phases risks leaks in the later buildings.

Planning Your HOA’s Roofing Strategy

Blue Peaks can price a full replacement and a phased plan side by side, so the Board can compare options before it votes.

Boards planning a community project can see how we handle HOA and multi-family roofing.

Property managers can learn more about our roofing services for HOAs and property managers.

What working with us looks like: We inspect every building for free and attend board and town hall meetings to answer questions. During the work, a dedicated project manager keeps the board and property manager updated every day, and each building ends with a magnetic nail sweep and a walkthrough. Call (303) 808-0687 or schedule a free inspection.

Categories
HOAs/Property Managers Warranty & Insurance

Understanding Roofing Warranties for HOA Boards

Why warranties matter to a board

For an HOA board, a roof warranty is part of the paperwork the community will rely on years from now. Board members change, property managers change, and the people who signed the contract may be long gone when a question comes up. The board’s job is to know what each warranty covers, who stands behind it, and where the documents are kept.

The word “warranty” gets used loosely in roofing. A roof usually comes with more than one, and each covers something different.

Material warranty (manufacturer)

The material warranty comes from the shingle or membrane manufacturer. It covers defects in the product itself, such as shingles that crack, curl or lose granules because of a manufacturing problem. It does not cover installation mistakes.

Terms vary by product, and some material warranties are prorated, meaning the coverage decreases over time. Ask for the specific warranty document for the product on your bid, not a brochure summary.

Workmanship warranty (contractor)

The workmanship warranty comes from the roofing contractor and covers how the roof was installed: flashing, fastening, underlayment and penetrations. If a valley leaks because it was not flashed correctly, this is the warranty that applies.

On residential roofs, the Blue Peaks workmanship warranty is 5 years. For community and commercial projects, the workmanship terms are written into the contract, so the board knows exactly what is covered before anyone signs.

A workmanship warranty is only as good as the contractor behind it, so check a contractor’s local history and reputation along with the warranty itself.

System warranties on commercial low-slope roofs

On some commercial low-slope roofs, a manufacturer can issue a system warranty that covers both the materials and the installation. To offer one, the contractor has to be certified by that manufacturer, and the manufacturer inspects the finished roof before it issues the warranty.

Blue Peaks is certified with Elevate and GenFlex. Terms vary by manufacturer and system, so we walk the board through which options fit the building and what the manufacturer requires.

What warranties usually don’t cover

  • Storm damage: hail, high winds, lightning and similar events are generally excluded.
  • Foot traffic and other trades: damage from HVAC techs, painters, satellite installers or anyone else working on the roof.
  • Neglect: problems caused by clogged drains, gutters or debris left in place.
  • Unapproved alterations: new penetrations, solar panels or dishes added without the installer or manufacturer’s approval.

Protecting your coverage

  • Registration proof at closeout: ask the contractor for proof that the manufacturer warranty was registered.
  • Documented inspections: keep dated photos and notes from regular roof inspections.
  • A roof-access log: record who goes on the roof and why, so damage from other trades can be traced.
  • Prompt leak reporting: report leaks as soon as they are found.

Comparing bids

When the board compares reroof bids, look past the bottom-line price. Ask each contractor for the material, workmanship and any system warranty terms in writing, and compare them line by line: who issues each warranty, what it covers, what it excludes and how long it runs.

“Clarity builds confidence. Confidence builds trust.”

Property managers can learn more about our roofing services for HOAs and property managers.

What working with us looks like: We inspect every building for free and attend board and town hall meetings to answer questions. During the work, a dedicated project manager keeps the board and property manager updated every day, and each building ends with a magnetic nail sweep and a walkthrough. Call (303) 808-0687 or schedule a free inspection.

Categories
HOA Planning HOAs/Property Managers

How to Plan an HOA Reroof: Timeline, Approvals & Communication

Replacing a roof on a single-family home is a construction project. Replacing roofs across an entire HOA community is a governance project. It involves many residents, a large budget, careful contractor vetting, and a fiduciary duty to spend community funds wisely. At Blue Peaks Roofing, we partner with HOA boards and property managers to turn this complex undertaking into a predictable, transparent process.

The Board’s Fiduciary Duty: It’s More Than Just Picking a Color

Your primary role as a board member isn’t to be a roofing expert; it’s to make prudent decisions that protect the association’s assets. When planning a reroof, this duty translates into three specific requirements:

  • Due Diligence: Gathering multiple competitive bids based on an identical scope of work, rather than just accepting the first estimate.
  • Asset Protection: Choosing a complete system (shingles, underlayment, ventilation) that fits the buildings and the community’s budget.
  • Risk Management: Verifying the contractor’s license, safety practices and financial stability to protect the association.

Planning the Timeline (Why Early Preparation Matters)

A successful HOA reroof starts months before the first hammer swings. Rushing into a contract in late summer often leads to supply chain delays or weather-related complications. We recommend starting the assessment phase in the fall or winter, finalizing scopes and contracts by early spring, and scheduling production for the optimal weather window. This lead time allows for proper notification to residents, a critical step that is often overlooked in rushed projects.

Approvals, Budgets & Scope Clarity

Ambiguity is the enemy of a successful project. Before asking for bids, the board must define the scope. Are we replacing gutters? Addressing ventilation issues? Upgrading to impact-resistant shingles? We help boards develop a “Request for Proposal” (RFP) that ensures every contractor is bidding on apples-to-apples specifications. This clarity prevents expensive change orders later and gives the board confidence that the budget is realistic and defensible.

Communication Is Key

In our experience, most resident frustration comes from poor communication, not the work itself. Residents need to know: When will workers be on my specific building? Where do I park? What about my patio furniture? We provide a communication plan that includes board and town hall meetings, notices posted before work starts on each building, and a single point of contact. When residents feel informed, they are far more patient with the necessary noise and disruption of major construction services.

Phasing & Logistics Matter More Than You Think

You cannot reroof 50 buildings in a week. Phasing is the strategic sequencing of work to minimize impact on daily life. We plan phases based on parking availability, trash removal routes, and safety zones. For larger communities, multi-year phasing might be necessary to align with reserve fund cash flow. A professional roofing partner will present a logistics plan that accounts for school bus stops, trash pickup days, and emergency vehicle access, ensuring the community continues to function smoothly.

Documentation & Closeout (Protecting the Board Long-Term)

The project isn’t done when the shingles are on. It’s done when the board has the paperwork to prove it. Years from now, a future board may need the warranty records. Will they find them? We provide a digital and physical “Closeout Package” containing the manufacturer warranty, our workmanship warranty, photo documentation of the install, and lien waivers. This documentation is your legacy of good governance.

Ready to Plan Your HOA Reroof?

If your community is facing a major roofing project, don’t go it alone. Let us help you assess your needs, build a scope, and execute a plan that respects your residents and your budget. Contact us today to start the conversation.

What working with us looks like: We inspect every building for free and attend board and town hall meetings to answer questions. During the work, a dedicated project manager keeps the board and property manager updated every day, and each building ends with a magnetic nail sweep and a walkthrough. Call (303) 808-0687 or schedule a free inspection.