
Blue Peaks Roofing
Categories
Insurance & Claims Maintenance & Repairs Project Planning Roof Repair Roof Replacement Warranty & Insurance

How to File a Roof Insurance Claim in Colorado: Step by Step

Let’s set the scene. A hailstorm just rolled through your neighborhood. Your car has new dimples. Your neighbor is already on the phone with some guy in a pickup truck who appeared out of nowhere handing out business cards like candy. And you’re standing in your driveway wondering what you’re actually supposed to do.

Here’s the thing: your insurance company has navigated this exact process thousands of times. You probably haven’t done it once. That gap in experience is exactly where money disappears — and it’s completely avoidable.

We inspect hail-damaged roofs across the Front Range. Here’s exactly how to handle it without leaving money on the table or making expensive mistakes.

First — Pull Out Your Policy and Find These Three Things

Nobody reads their insurance policy. We know. It reads like it was written by someone who hates you. But before you call your carrier, you need to know three things or you’re walking into a conversation completely blind:

  1. Your wind and hail deductible. In Colorado, this is almost always a separate deductible from your standard one — and it’s percentage-based. On a $500,000 home with a 2% hail deductible, you owe $10,000 before insurance pays a single dollar. Find this number before the adjuster visits.
  2. RCV or ACV coverage. Replacement Cost Value pays what it costs to build the roof today. Actual Cash Value pays that minus depreciation — meaning they factor in your roof’s age and pay less. The difference is often several thousand dollars. Most people have no idea which one they have until the check arrives.
  3. Your filing deadline. Colorado policies typically require you to file within 1–2 years of the storm date. The clock started the minute the hail hit.

Still confused by your policy? Call SCC Insurance at (303) 587-9582. Free policy review. They’ll translate the fine print into English for you — no strings attached.

Now Here’s the Process, Step by Step

Step 1

Get a Professional Inspection Before You Call Your Insurance Company

This is the step people skip. It’s also the most important one. Before an adjuster puts eyes on your roof, you need to know what’s actually there. At Blue Peaks, inspections are always free and we document everything with photos. Going into the process informed, instead of just waiting to hear what the insurance company says, puts you in a better position.

Step 2

File Your Claim

Call your insurance company or file online. Get a claim number immediately and write it down — you’ll reference it constantly over the next several weeks. Be factual: give them the approximate storm date, describe the damage you’ve observed, and request a full inspection. Don’t speculate, don’t exaggerate. Just tell them what you know.

Step 3

Be Ready for the Insurance Inspection

Your insurer will schedule an inspection of the roof. Be available, keep your claim number and policy details handy, and have your own inspection photos and the storm date ready for reference.

Step 4

Review the Scope of Loss Line by Line — Before You Sign Anything

The adjuster produces a Scope of Loss — a line-by-line breakdown of what they’re approving. Commonly missing items: drip edge, ice and water shield, starter strip, pipe boot replacements, ridge ventilation, and overhead and profit. If you think items are missing, you can ask your insurer to review the scope.

Step 5

Ask Your Insurer to Review an Incomplete Scope

If items are missing, you can ask your insurer to review them. Your inspection photos and measurements can help you show what is on the roof.

Step 6

Receive Your ACV Check and Get Started

Once the scope is agreed upon, your insurance company issues the first check — the Actual Cash Value payment. This is the depreciated value of the roof. Work begins, this payment covers the start of the project, and the clock starts on your completion certificate.

Step 7

Collect Your Recoverable Depreciation After the Roof Is Done

After completion, you submit a certificate of completion and your insurance company releases the recoverable depreciation — the difference between what they paid and what the roof actually costs new. This is your second check. Most of our clients are genuinely surprised by how smooth this last step is once the work is done right.

⚠ Mistakes That Cost Colorado Homeowners Thousands Every Year

  • Signing a contract before you know what your deductible actually is
  • Accepting the first scope without reviewing every line item — first scopes are almost never complete
  • Going with the cheapest bid (low bids almost always mean missing scope items — you’ll feel the gap when the final check arrives)
  • Waiting too long after a storm and letting the filing window close
  • Signing contracts with door-to-door contractors who showed up the day after a storm and will be gone by winter — this one deserves its own article
The Blue Peaks difference — and it’s a real one:We inspect, document and give you a full photo report of what we find. Your deductible is always your responsibility under Colorado law.

What Does It Actually Cost Me?

Your deductible is your responsibility under Colorado law. We work within the approved insurance scope and we never ask homeowners to pay above their approved coverage for covered work. If you have an ACV policy and depreciation isn’t recoverable, we’ll explain exactly what that means before you commit to a single thing. No surprises, ever.

Ready to Get Started?

The insurance company has done this thousands of times. You probably haven’t. That experience gap is where money goes — and it’s completely avoidable when you have the right people in your corner.

If there’s been a storm in your area and nobody’s been on your roof, call us. Free inspection. Honest assessment. No obligation either way. We’ll tell you straight whether there’s a claim worth making.

Free inspection with a full photo report.

(303) 808-0687

Blue Peaks Roofing · Littleton, CO · bluepeaksroofing.com · Mon–Sat 8AM–5PM

Not sure what you are looking at? Schedule a free hail damage roof inspection.

Wondering how a claim affects coverage? Read whether hail damage voids your roof warranty.
About Blue Peaks RoofingBlue Peaks Roofing serves the Denver metro and Front Range. BBB Accredited. Google reviews. Littleton, CO.

Categories
Homeowners Windows & Siding

When to Replace Windows During a Reroof: A Homeowner’s Guide

Why Roof and Window Replacement Should Be Coordinated

Most homeowners view roof replacement and window replacement as separate, isolated projects. They hire a roofer one year and a window company the next. This fragmented approach often leads to higher costs, missed opportunities for efficiency, and, most critically, vulnerable points in your home’s water defense.

The Building Envelope: How Roofs and Windows Work Together

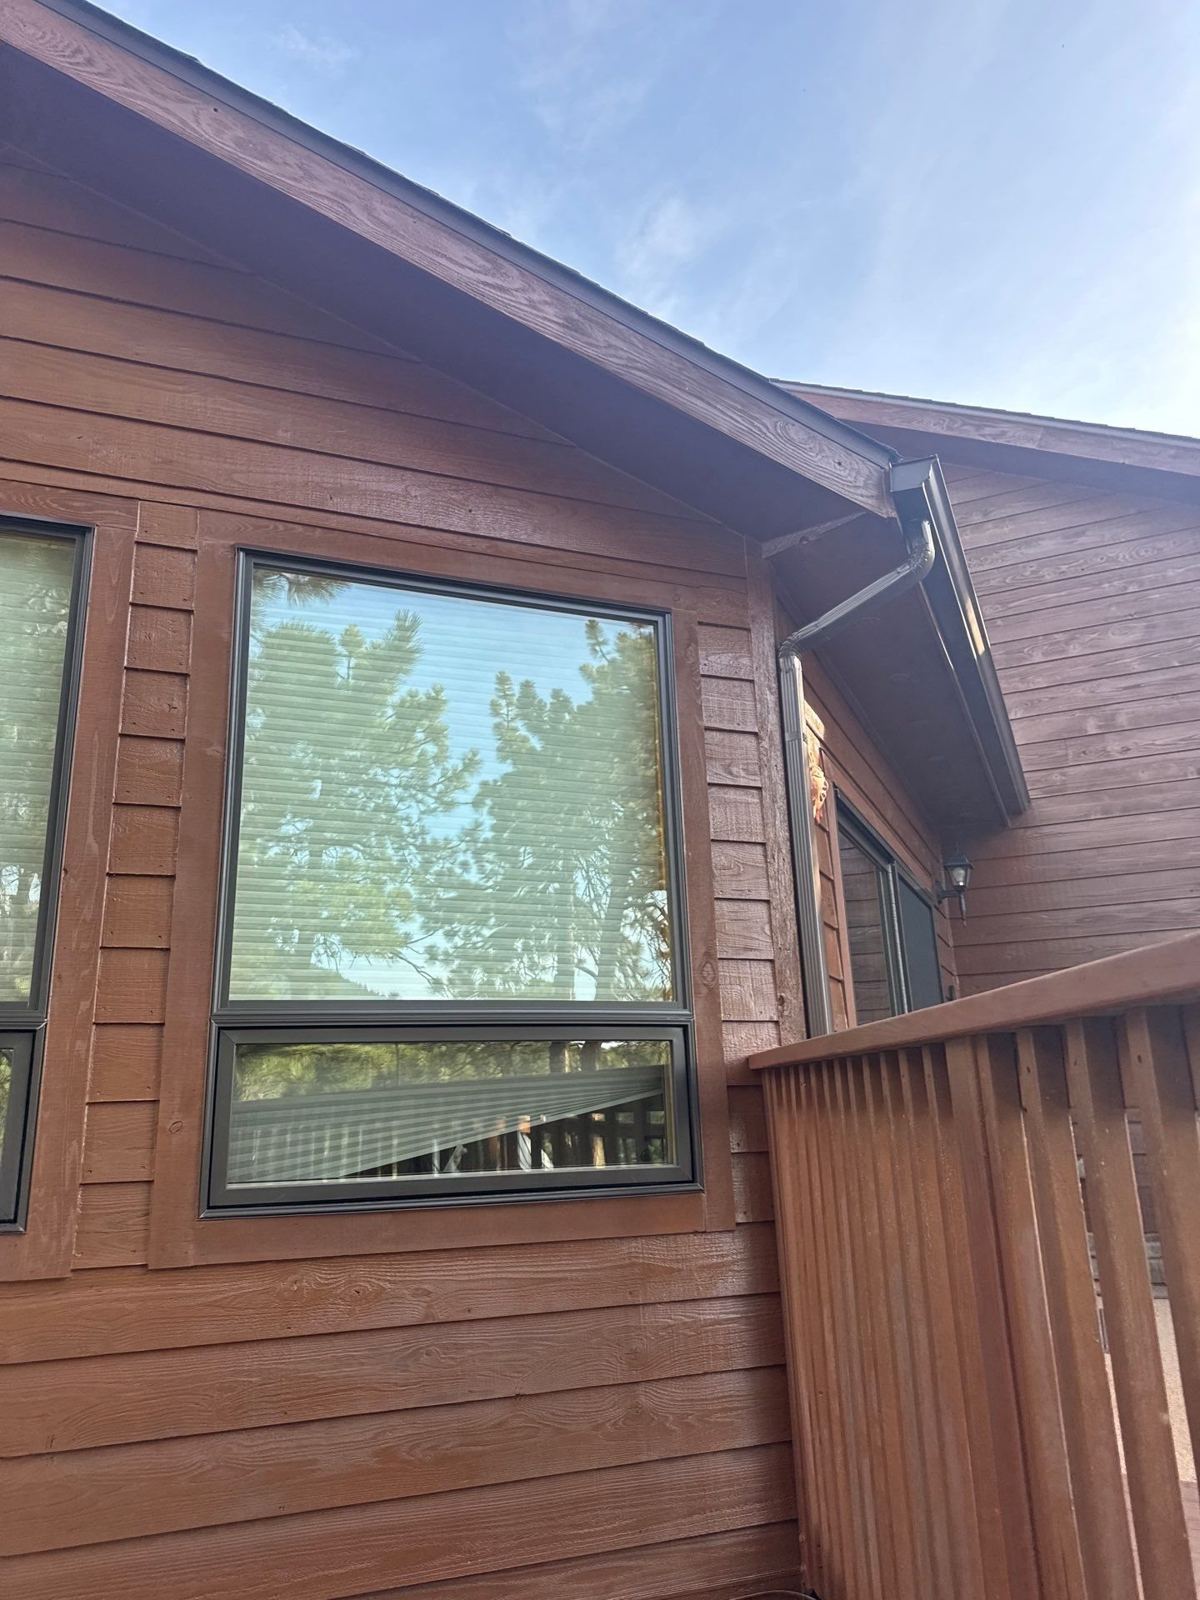
Your home isn’t a collection of parts; it’s a system. The “building envelope” is the barrier that separates the conditioned interior from the harsh exterior. Roofs and windows are key parts of this envelope. Where they meet, at dormers, skylights and upper-story walls, leaks are common.

Flashing Integration & Water Management

The critical intersection is flashing. Flashing is the metal material used to direct water away from joints.

  • Dormers: Windows located in dormers often have step flashing that integrates directly behind the siding and under the shingles. Replacing the roof allows us to replace this flashing. If you replace windows later, the window installer might disturb this seal.
  • Skylights: These are essentially “windows on the roof.” They must be curbed and flashed into the roofing system correctly. A roof replacement is a good time to replace aging skylights.

Sequencing Benefits: Roof First or Windows First?

If you can’t do them simultaneously, the general rule is Roof First. Why? Roofing is a messy, heavy-construction process. Debris falls. Dust settles. Doing the roof first prevents damage to brand-new windows. However, doing them together allows the flashing to be integrated seamlessly in one operation.

Labor Efficiencies & Cost Savings

Combining projects creates economies of scale:

  • One Setup: Dumpsters, scaffolding, and safety gear are set up once.
  • Reduced Trip Charges: Crews are already on site.
  • Bulk Material Orders: Potential savings on delivery fees.
  • Siding Labor: Often, siding near windows needs to be manipulated to install flashing. Doing this once saves labor hours.

Colorado Weather Considerations

In Colorado, our freeze-thaw cycles are brutal on sealants. Caulk shrinks and cracks. By replacing windows and roofs together, we install fresh, high-grade sealants and proper head flashing (drip caps) that protect the window frame from melting snow dripping off the roof eave.

When NOT to Replace Windows During a Reroof

There are exceptions. If your budget is tight and the roof is leaking, prioritize the roof. A leaking roof destroys structure; drafty windows just cost energy. Don’t delay a critical roof repair to save up for windows.

Planning Your Exterior Upgrade Timeline

If you are planning a major exterior overhaul, consult with a contractor who understands the full envelope. At Blue Peaks, we manage both trades, ensuring the roofer and the window installer communicate about flashing details before a single nail is pulled.

Planning more than one project? Here is how we coordinate windows, siding and your roof as one plan.

When a roof is past saving, here is how our roof replacement process works.

What working with us looks like: We inspect your roof for free, typically within 24 to 48 hours, and walk you through the photos of what we find. If you go ahead, your dedicated project manager sends a prep email before your build, keeps you updated every day, and we finish with a magnetic nail sweep and a final walkthrough with you. Residential roofs carry our 5-year workmanship warranty. Call (303) 808-0687 or schedule a free inspection.

Categories
Maintenance & Repairs repair vs a full roof replacement Roof Repair Roof Replacement Roofing Challenges

Roof Repair vs. Replacement: How to Make the Right Decision

Start with an inspection

You can’t judge a roof’s condition from the driveway. Hail bruising, worn granules, lifted shingles and soft decking are hard to see from the ground, and walking a roof yourself is risky. A professional inspection with photos is the right place to start any repair or replacement decision.

Signs a repair is enough

  • Damage is limited to one area of the roof.
  • A few shingles are missing or damaged, and the rest of the roof is in good shape.
  • A leak traces back to flashing around a chimney, wall or vent.
  • A cracked or worn pipe boot is letting water in.

In these cases, our roof repair team can usually fix the problem without a full replacement.

Signs it’s time to replace

  • Widespread granule loss or hail bruising across the roof.
  • Leaks in several places.
  • Soft, spongy or sagging decking.
  • Shingles curling, cracking or lifting across the roof, not just in one spot.

Age is a factor, but condition decides

An older roof is more likely to need replacement, but age alone doesn’t make the call. A well-installed older roof can be in better shape than a newer one that took a beating in a storm. The inspection tells you what condition the roof is actually in.

Local code matters

Some Colorado jurisdictions don’t allow a second layer of shingles over the old roof, which changes the math on a repair or partial overlay. Learn more in Colorado Roof Codes Differ by Address: Here’s How to Check Yours.

Compare written estimates

When it’s a close call, ask for written estimates for both a repair and a replacement so you can compare them side by side. Think about how long you plan to stay in the home: a repair may make sense if you are selling soon, while a replacement may make more sense if you plan to stay.

Get a clear answer

Schedule a free inspection. We typically inspect within 24 to 48 hours, walk you through the photos of what we find and tell you honestly whether you need a repair, a replacement or nothing at all. See how our roof repair and roof replacement services work, or contact us to book.

What working with us looks like: We inspect your roof for free, typically within 24 to 48 hours, and walk you through the photos of what we find. If you go ahead, your dedicated project manager sends a prep email before your build, keeps you updated every day, and we finish with a magnetic nail sweep and a final walkthrough with you. Residential roofs carry our 5-year workmanship warranty. Call (303) 808-0687 or schedule a free inspection.

Categories
Maintenance & Repairs Metal Roofing Project Planning Roofing Challenges Windows & Siding

Roofing Materials for Denver’s Weather: How to Choose

What Denver roofs face

Roofs along the Front Range deal with hail, strong high-altitude sun, heavy wet snow, wind and constant freeze-thaw swings. Every material handles those conditions a little differently, so the right choice depends on your home, your budget and your priorities.

Class 4 impact-resistant shingles

Class 4 impact-resistant shingles are designed to resist hail damage better than standard shingles while keeping the look and cost of an asphalt roof. We often start with Atlas, where Blue Peaks is an Atlas PRO+ Silver Level contractor, and we also install TAMKO as a TAMKO Pro Platinum contractor. On residential roofs, we are also a GAF Master Elite contractor.

Manufacturer warranties vary by product, so we walk you through the coverage for the specific shingle you choose. Learn more on our impact-resistant shingles page.

Some cities add their own rules. Arvada, for example, requires Class 4 impact-resistant asphalt shingles on homes, with limited exceptions. See our Arvada Class 4 roofing requirement post.

Stone-coated steel

Stone-coated steel combines a steel panel with a stone granule finish, so it can have the look of shingles or tile while giving you the strength of metal. We install stone-coated steel from Westlake Royal. See our stone-coated steel roofing page.

Standing seam metal

Standing seam metal uses long panels with concealed fasteners. It sheds snow well, carries a Class A fire rating and has a clean, modern look. Hail can dent metal, so ask about heavier gauge panels or textured finishes if that is a concern. See our standing seam metal roofing page.

Concrete tile

Concrete tile suits Mediterranean and Southwest-style homes and handles strong sun well. It is heavy, so the roof structure needs to be checked before a switch to tile. See our concrete tile roofing page.

Installation matters as much as the material

Underlayment, ice barrier and ventilation requirements follow your local building code and the manufacturer’s installation instructions, and those rules vary by address. Learn how to check yours in Colorado Roof Codes Differ by Address: Here’s How to Check Yours.

How to choose

  • Budget: impact-resistant shingles generally cost the least up front; metal and tile cost more.
  • Home style: some materials suit certain architecture better than others.
  • HOA rules: many communities limit the materials and colors you can use.
  • How long you’ll stay: your plans for the home affect how much it makes sense to invest.

Not sure which material fits your home? Schedule a free inspection and we’ll walk you through the options. See how our roof replacement process works, or contact us.

What working with us looks like: We inspect your roof for free, typically within 24 to 48 hours, and walk you through the photos of what we find. If you go ahead, your dedicated project manager sends a prep email before your build, keeps you updated every day, and we finish with a magnetic nail sweep and a final walkthrough with you. Residential roofs carry our 5-year workmanship warranty. Call (303) 808-0687 or schedule a free inspection.